May 29, 2024
Homebrew — The MacOS Package Manager for Pros
cool software
mac
productivity
Up your game by learning how to install Homebrew on your Mac & learn how to use it to install and manage your applications.
As a Mac user, I'm always on the lookout for cool software and productivity tools. The easiest way to install these tools is with Homebrew.
What's Homebrew?
Let's say you want to download an application on your Mac, like the Arc browser. Typically, the process might look like this:
- Google search “Arc browser download mac”
- Click the first link
- Click “Download”
- Open Finder and double-click the .dmg file that was downloaded
- Drag the icon to the Applications folder (for some reason?)
- Days later, be confused by a weird icon on your desktop, realize the disk image is still mounted, and eject it
While this process isn't the worst thing in the world, we can definitely do better.
With Homebrew, you can type a single command into the terminal, and it will automatically download and install the application for you. No need to open Finder, mount anything, or find the right download button.
How to Install Homebrew
These instructions are accurate as of the time of writing. I'm referencing the official Homebrew site: https://brew.sh/. If anything seems off, check the homepage for updates.
(Not sure if you've already installed Homebrew? Type brew into the terminal and hit return. If you see a list of commands, then you're all set.)
- Open the terminal
- Tip: Press
⌘ + Spaceto open Spotlight search, then typeterminalto quickly find the app.
- Tip: Press
- Paste in the following command:
/bin/bash -c "$(curl -fsSL https://raw.githubusercontent.com/Homebrew/install/HEAD/install.sh)" - You'll be prompted to enter your Mac user password. You won't see anything as you type, but hit return when you're done.
- You'll see a list of directories that the script will create. Just hit return.
- If you haven't installed XCode Command Line Tools, you'll see a message saying, "The XCode Command Line Tools will be installed." Hit return again.
- The installer will work for a few minutes, downloading and installing the necessary files. Once it's done, you'll see "Installation successful!".
- Important — Follow the instructions under
==> Next steps:and run the commands provided in the terminal. - To verify the installation, type
brewinto the terminal and hit return. If you see a list of commands, you're all set!
Using Homebrew
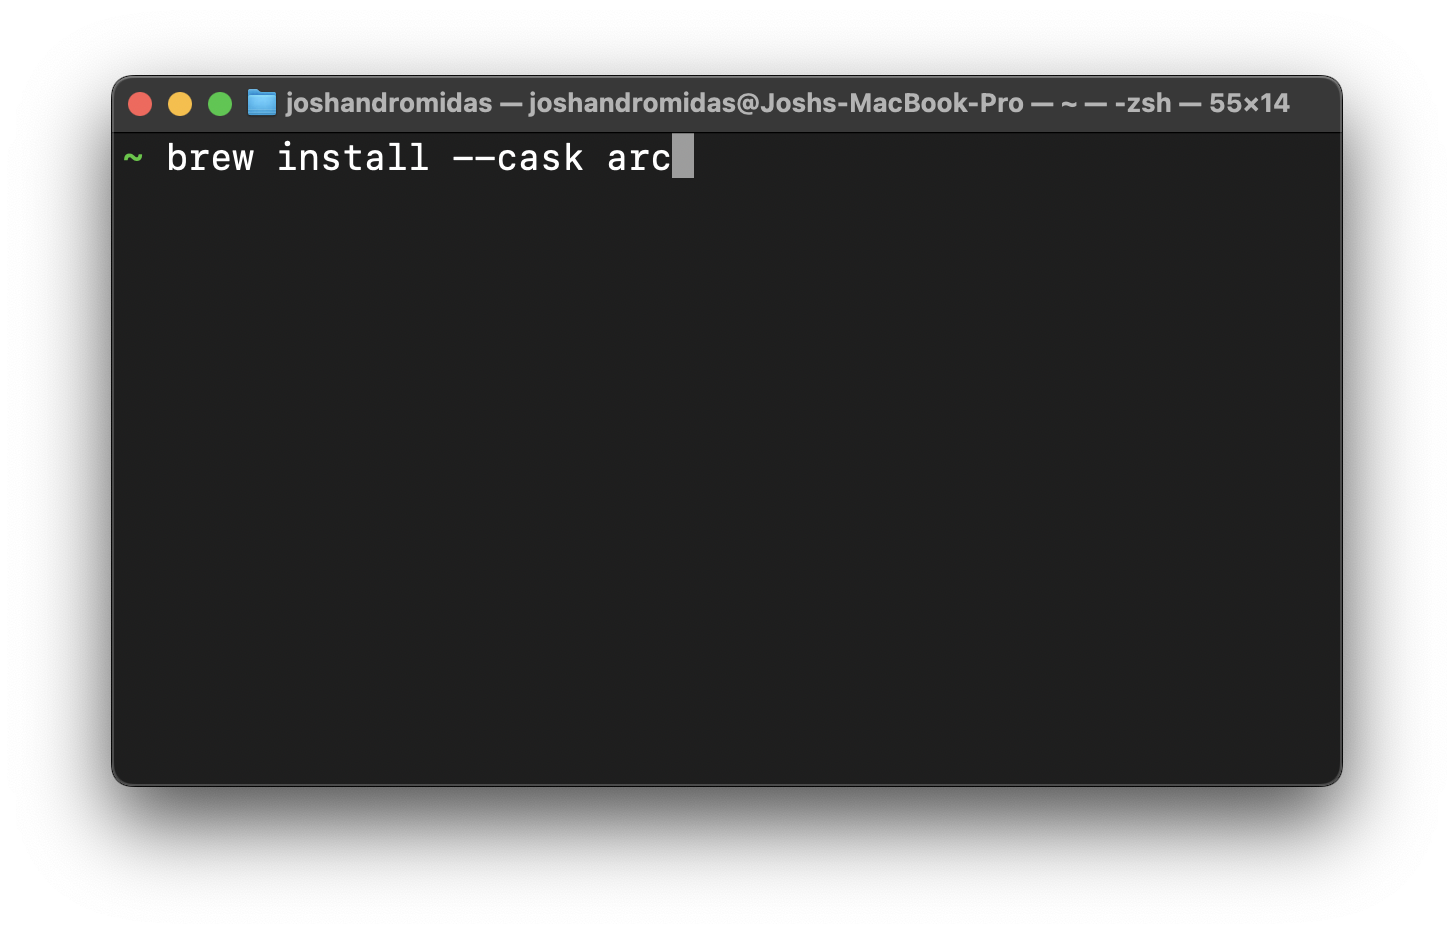
Now that Homebrew is installed, you can use it to install almost any software you want! For example, to install the latest version of the Arc browser, you just type the following command into the terminal:
brew install --cask arc
And that's it! Homebrew downloads and installs the application for you.
Here's my typical process for downloading an application with Homebrew:
- Google search "Arc browser brew"
- Click the first link from
formulae.brew.sh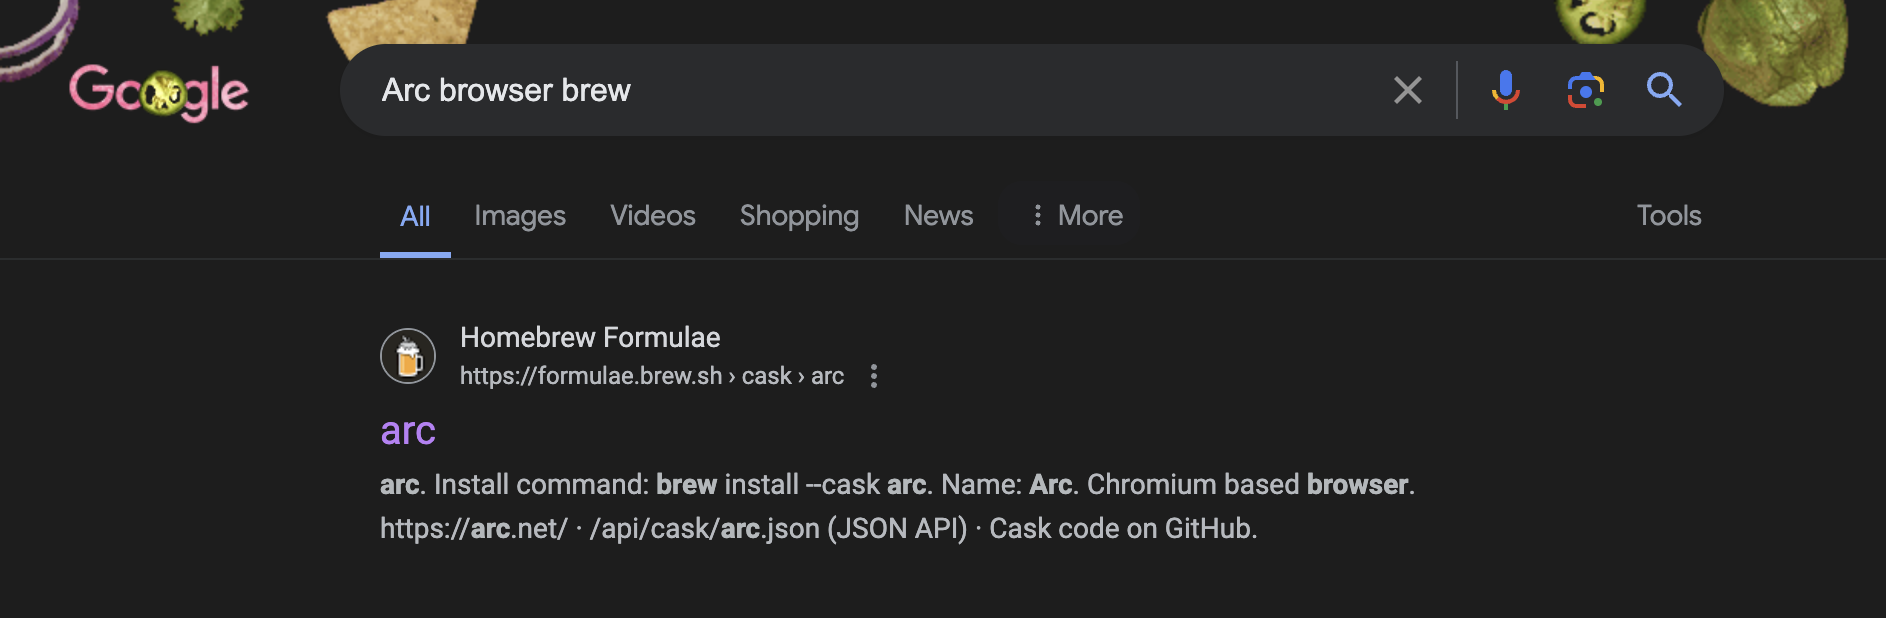
- Copy & paste the install command into the terminal
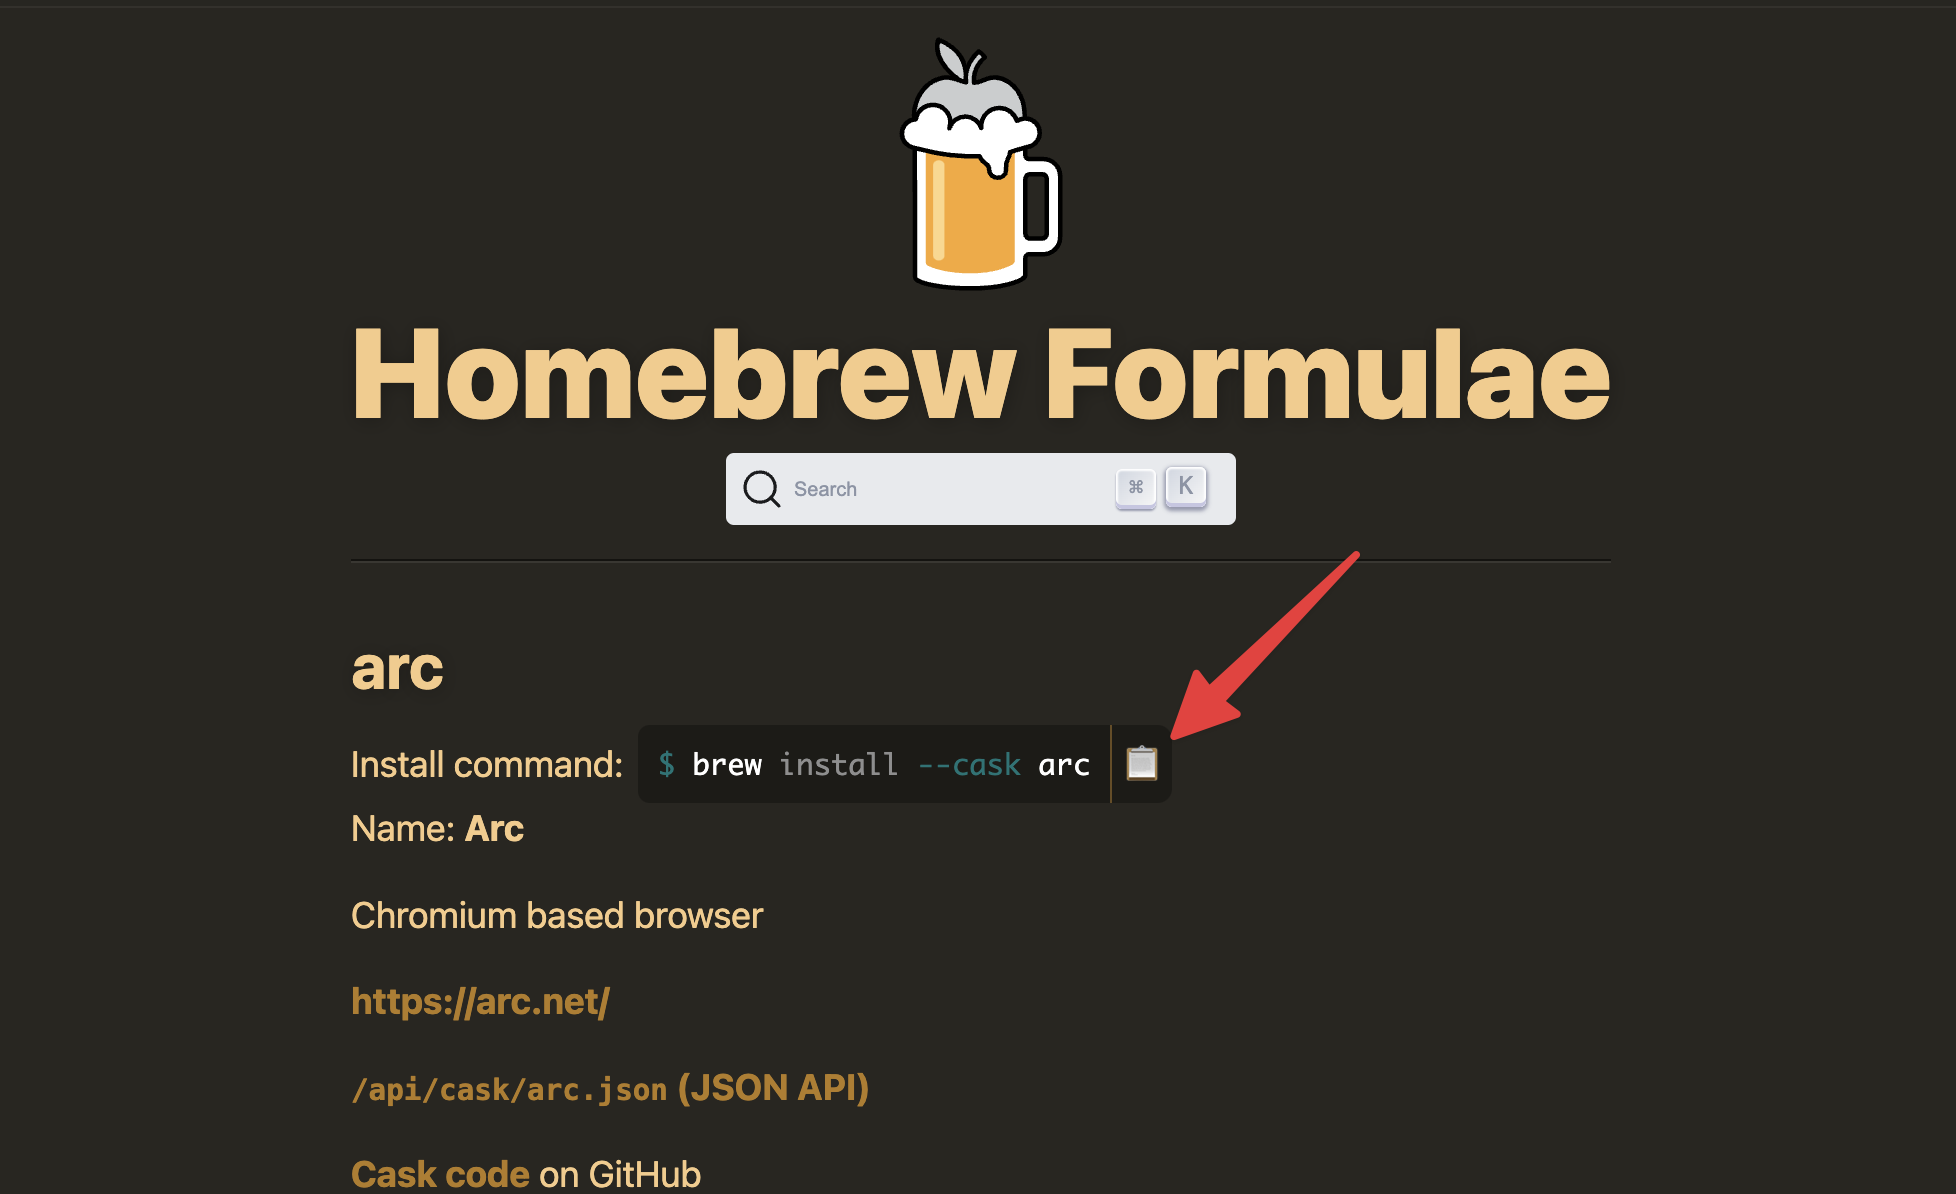
- Done!
You can also use the search bar on the Homebrew Formulae page. Type in the application's name, and if it's available through Homebrew, it will show up in the search results with the install command.
Why Use Homebrew?
Is this any better than downloading an app from the App Store or the app's official website?
Not necessarily, as the end result is the same: the application installed on your Mac. It's a lot easier to use though, since it's just a single command to download and install the app.
You do get a few more benefits too:
Updating & Uninstalling Applications
You know how easy it was to install an application with Homebrew? It's just as easy to uninstall it, too. Just enter brew uninstall <app name> in the terminal and it removes the app for you.
To update an application, enter brew outdated in the terminal to see a list of outdated applications, and then enter brew upgrade to update all of them at once. Or, you can enter brew upgrade <app name> to update a specific application.
Learning the Command Line
Using the terminal can be intimidating, but starting with a simple tool like Homebrew is a great way to become more comfortable with the command line. Plus, it feels cool.
Backups
You can save all the applications you install with Homebrew to a Brewfile. This is a great way to keep track of all the apps you use and easily reinstall them later. When I upgraded my MacBook Pro, I backed up my Homebrew applications to a Brewfile and reinstalled them on my new Mac with a single command. It was much easier than manually downloading and installing each app.
Here's a Gist explaining how to create and use a Brewfile.
Conclusion
Homebrew is a great tool for Mac users who want to install and manage their applications easily. It's faster and easier than downloading apps from the App Store or the app's official website, and it offers many other benefits. If you're looking for a way to install and manage your applications on your Mac, definitely check out Homebrew!
Resources & Research Topics
I always suggest doing your own research on the tools you use. What works for me might not be the best option for you, so here are some search suggestions to get you started:
- brew.sh: The official website for Homebrew, where you can find a list of all the formulae (packages) that Homebrew can install.
Search suggestions for additional learning:
brew cask vs formulahomebrew vs macportsmas-cli— a command-line tool similar to Homebrew, but for managing apps on the Mac App Store